
Echo Weaver First Room Lost: How to Find Your Way Out
Echo Weaver first room lost? Follow the exit route, collect time crystals, solve the elevator code, and see how Folding gets you past the Assembly gate.
Jump to
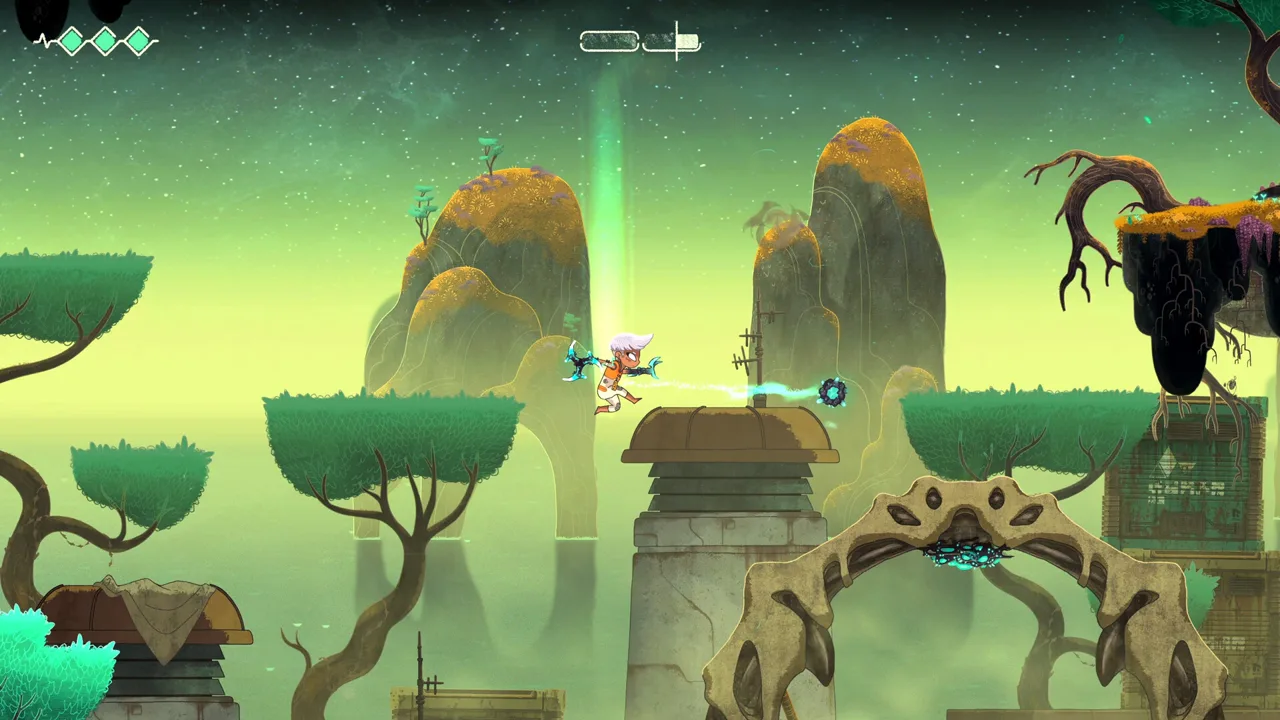
Lost in the First Room? Start With the Upper Control Panel
If “Echo Weaver first room lost” describes your opening minutes, head right, climb up, and activate the control panel to open the path. That gets you moving toward the time crystals and shortcuts that help you explore before the loop resets. This Echo Weaver first room lost walkthrough follows the opening route through the Assembly, with the elevator solution and final gate escape separated into later sections.
For the immediate exit, remember this sequence: right, up, control panel, left, down. You do not need the Glaive to complete these opening movements.
- Move right from the starting position. Climb to the upper section.
- Use the control panel. This opens the route forward.
- Head left and drop down. Echo Weaver has no fall damage, so the height itself will not hurt you.
- Collect the crystal on the left at the bottom. Crystals extend your available loop time.
- Continue left while avoiding the fire. Use the launch mechanic to reach the area above.
- Turn right and open the door. Continue toward the dark room.
| Opening landmark | What to do | What it accomplishes |
|---|---|---|
| Upper control panel | Climb up and activate it | Opens the starting path |
| Bottom of the drop | Collect the crystal on the left | Extends the current loop |
| Fire along the lower route | Avoid it and continue left | Leads toward the launch |
| Area above the launch | Head right and open the door | Advances toward the dark room |
The important distinction is between falling and landing in a hazard. You can drop from a height safely, but fire and spikes still require careful movement.
Before leaving this section, check that you collected the crystal below the opening panel. For the Echo Weaver first room lost route, that pickup gives you more time to learn what comes next.
Cross the Dark Room and Open the Permanent Shortcut
The dark room introduces a floor gap that is easy to overlook. Move forward a little, then double jump across it. Use the edge as your reference on the next attempt if you fall.
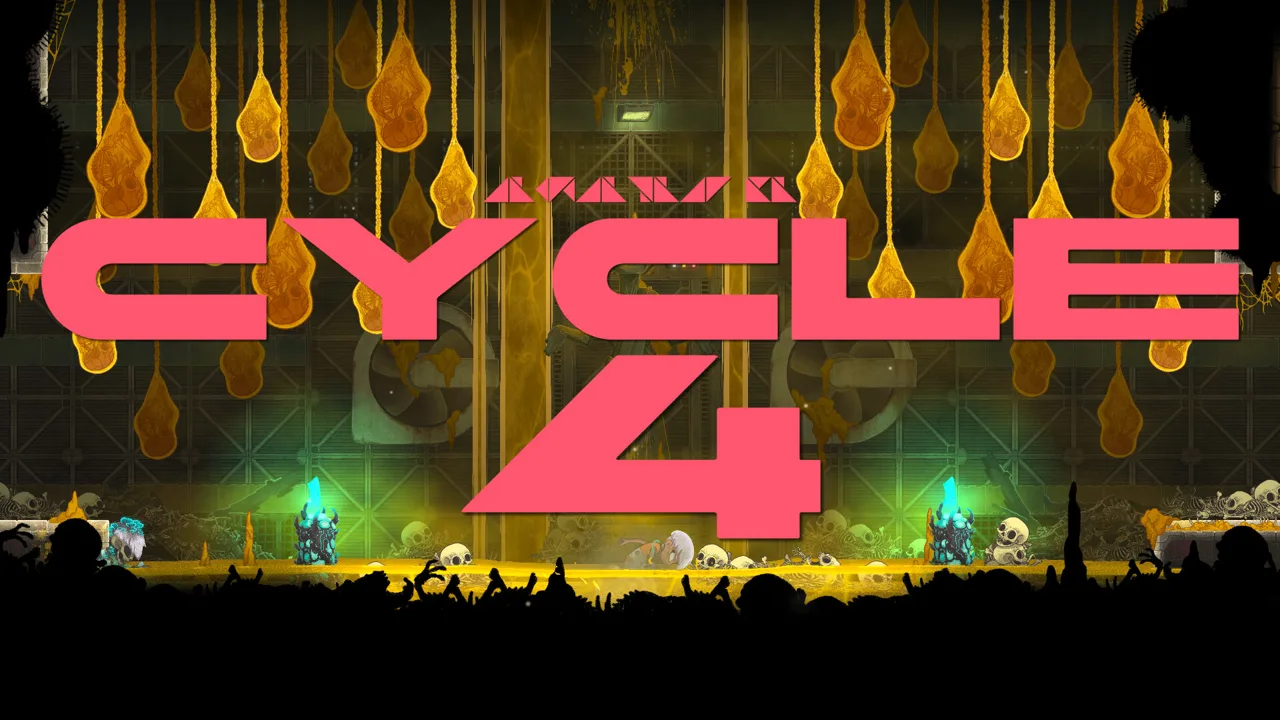 Image: Steam / Moonlight Kids
After crossing, keep working through the platforms and machinery:
- From the middle platform, jump left for a crystal.
- Return toward the right and activate the machinery. Pass through the gate it opens.
- Reach the lower level. Dropping down here is part of the route.
- Jump left to collect another crystal.
- Continue left to unlock a permanent shortcut.
- Use the newly introduced manual loop-ending mechanic. When the next loop starts, head right, collect the crystal, and continue.
| Mechanic | How it affects your route |
|---|---|
| Time crystals | Extend the current loop |
| Running out of time | Resets the loop |
| Permanent shortcut | Remains available across loops |
| Manual loop ending | Lets you end the current cycle yourself |
If the Echo Weaver first room lost problem keeps turning into another reset, focus on reaching that permanent shortcut. It gives your next attempt a lasting benefit.
Treat each loop as a chance to learn a specific obstacle. Locate the dark-room gap, remember where the lower crystal sits, and identify the shortcut before worrying about a fast run.
Pickups and interactions to check:
- The crystal left of the middle platform.
- The crystal on the lower level.
- The permanent shortcut farther left.
Reach Intermind and Solve the Elevator Code
Continue right after the reset until you reach the Assembly and meet Intermind, the cat. Finish the conversation, then interact with the elevator. Its control panel requires a code.
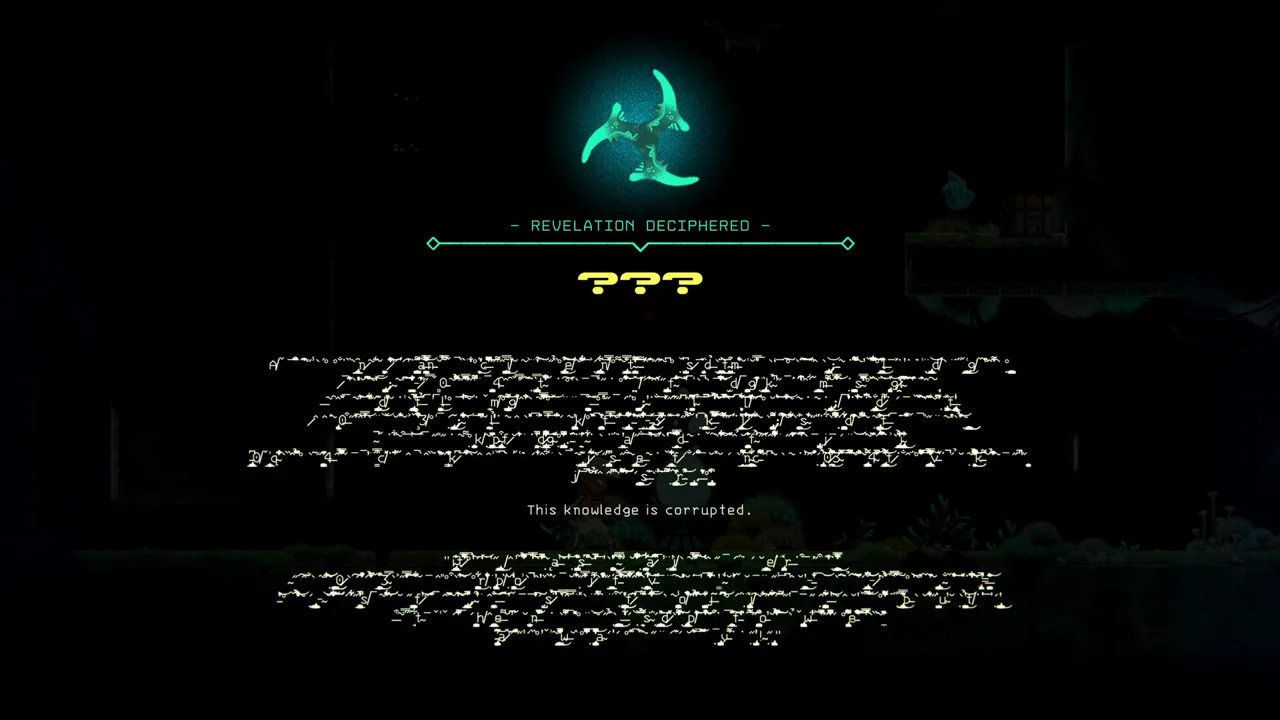 Image: Steam / Moonlight Kids
The combination is 1254. To find the memory that reveals it, follow the route below.
- Head right from the elevator. The floor breaks beneath you, dropping you to the lower level.
- Turn left into Monitoring & Observation.
- Find the memory on the left.
- Hold E on a keyboard or R2/RT on a controller to unlock the memory.
- Use the launch mechanic to return upward.
- Return to the elevator panel and enter 1254.
The keypad has no visible numbers, but it follows the standard arrangement with 1, 2, 3 across the top row and 4, 5, 6 across the second row.
| Input order | Number | Keypad position |
|---|---|---|
| First | 1 | Top row, left |
| Second | 2 | Top row, middle |
| Third | 5 | Second row, middle |
| Fourth | 4 | Second row, left |
This is the next useful checkpoint in the Echo Weaver first room lost walkthrough: recognize the elevator, the breakable floor to its right, and Monitoring & Observation below it. Those landmarks make the surrounding route easier to follow.
Once the elevator takes you up, collect the crystal on the left, then proceed right. As you drop down and move forward, a spiked box rushes toward you.
Keep moving right through the chase. Use jumps, slides, and double jumps as the terrain requires. After you escape, the box blocks the route behind you; continue forward toward the weapon ahead.
Collect the Glaive and Explore the Lower Assembly
Pick up the Glaive on the right. It handles enemies, activates machinery, and later becomes central to moving through the Assembly.
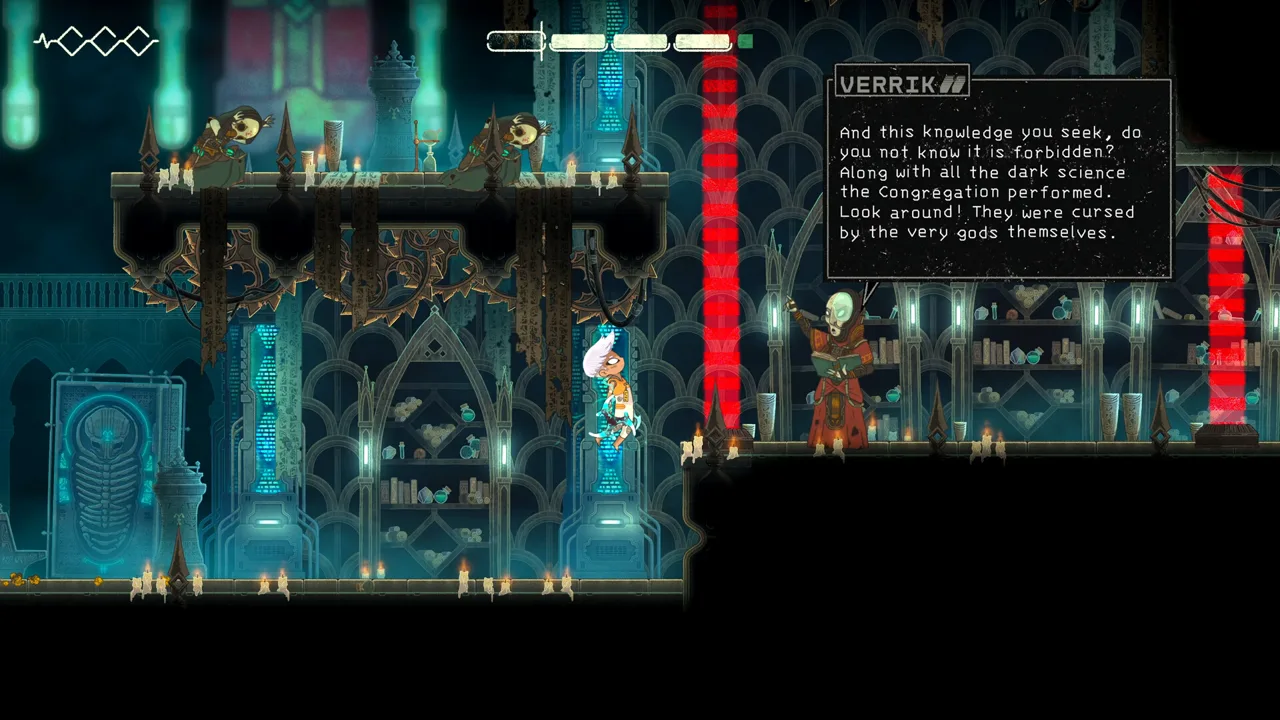 Image: Steam / Moonlight Kids
Learn the difference between its two throwing actions:
- Regular throw: The Glaive returns like a boomerang. Use X on Xbox or Square on PlayStation.
- Hurl Glaive: The weapon stays where you send it until you recall it.
Watch where the weapon ends up before moving on. A returning throw and a Glaive left in place serve different purposes throughout this area.
Work Through the Machinery
- Defeat the enemy ahead.
- Jump and hurl the Glaive toward the right to reach the crystal.
- Continue forward and activate the blocking machinery with the Glaive.
- At the end of the area, use the launch mechanic. Land on the lowest level to the left.
- Activate the machinery at the bottom.
- Launch upward on the right and collect the crystal.
- Activate the machinery again, then head left.
Along the next stretch, interact with the memory before continuing. Time your double jump across the spikes, then jump and hurl the Glaive to activate the machinery ahead.
Recall the weapon afterward. For the following activation, stand on the platform facing left and hurl from there. Use that stable position to line up the throw instead of adding another jump to the sequence.
The machinery stays active for a limited time, so identify your next movement before triggering it.
Find the Assembly Gate, Then Continue Exploring
Head down into the Assembly. The exit gate is on the right, but it closes 10 seconds after the loop begins.
Reaching it late is your cue to explore farther. The Echo Weaver first room lost route eventually becomes a puzzle about where you can return at the start of a loop.
Head left across the platforms, unlock the gate, and drop into the area where you found the elevator code. This time, turn right instead of entering Monitoring & Observation on the left.
Pickups and interactions to check:
- Crystals along the Glaive machinery route.
- The memory before the spike crossing.
- The gate that opens the return route below.
Learn Folding and Escape Through the Timed Gate
The path beyond the lower Assembly teaches the mechanic needed for the exit: Folding, which takes you to your Glaive’s location.
Start by moving through the machinery section:
- Continue forward with the Glaive until you reach three machines grouped together.
- Jump and use the returning throw to activate them.
- Continue ahead and hurl upward to open the next path.
- Collect the crystal, then head right and insert the Glaive into the machinery.
- Move right and climb upward until the game introduces the dive mechanic.
- Dive down, avoid the skeleton, and continue. Collect the crystal along the route and follow the downward path.
Use double jumps and further dives to reach the area where you learn Folding. Dive into the glowing formations called burning enth to travel to the Glaive.
Practice Folding and Sync the Glaive
Once you have the Glaive again, head left, hurl it, and Fold to its position. Continue out of the area, unlock the next memory, and use Folding to return to the weapon you left behind.
The upward route asks you to repeat that relationship: place the Glaive where you want to go, then reach burning enth and Fold.
Head left and hurl left, Fold across, then climb and hurl left again. Return down to Fold to the new position before climbing farther. Defeat enemies along the way to keep them from interrupting your movement.
At the upper-left platform, hurl the Glaive upward and Fold from the left side to reach the higher section. Continue until you find a bubble-like structure where you can sync the Glaive’s position. Interact with it before proceeding.
| Escape landmark | Required action | Purpose |
|---|---|---|
| Bubble-like sync structure | Sync the Glaive | Records its position for the upcoming return |
| Burning enth near the loop start | Use Folding immediately | Returns you to the synced location |
| Upper section | Hurl upward, then Fold | Reaches the next part of the escape route |
| Closing doorway | Hurl right, then Fold | Gets you across before the gate shuts |
After syncing, hurl upward, Fold to the Glaive, and head left. An unknown being takes you down, leading into another loop.
Execute the Escape
As soon as the next loop begins, use Folding through the burning enth near the starting point. There are two formations nearby.
Once you return to the synced location:
- Hurl the Glaive upward and Fold to it.
- Immediately hurl toward the right.
- Get the Glaive beyond the doorway before it closes completely.
- Fold across and continue right to the next sync point.
The decisive step in the Echo Weaver first room lost escape is preparing that synced position. Practice the upward throw and rightward throw as one sequence so you can act immediately when the loop restarts.
FAQ
What should I do if I’m searching for “Echo Weaver first room lost”?
Head right, climb up, and activate the control panel. Then move left, drop down, collect the crystal on the left, and continue past the fire toward the launch. Launch upward, turn right, and open the door.
Does Echo Weaver have fall damage?
No. Falling from a height does not cause damage. Watch your landing area for hazards, and double jump across the hole in the dark room.
What is the Assembly elevator code?
Enter 1254. The memory in Monitoring & Observation reveals it. Reach that room by heading right from the elevator, falling through the breakable floor, and turning left.
How do I pass the Assembly gate before it closes?
Learn Folding and sync your Glaive at the bubble-like structure along the upper route. At the next loop’s start, Fold back through nearby burning enth, hurl upward and Fold, then hurl right and Fold through the doorway before it closes.
Continue with
Echo Weaver Ivo Guide: Seed Locations and Quest FixesFollow our Echo Weaver Ivo guide to find every seed planting spot, understand bell timing, tackle the secret Ocean route, and fix common quest roadblocks.More in Guide
Echo Weaver Map Guide: Areas, Shortcuts, and Secrets
Explore the echo weaver map, find Z's maps, track hidden shortcuts, and plan faster routes through Provenance with practical tips for every new time loop.

Echo Weaver Achievements: Your 100% Completion Guide
Master Echo Weaver achievements with a practical completion order, collectible goals, time trial tips, and patch fixes. Plan your route to 100% completion.
Echo Weaver Fix the Pipes: Lake Pumphouse Puzzle Guide
Stuck on Echo Weaver fix the pipes? Find the four clues, troubleshoot the lake pumphouse valves, and collect the supplies-box key to enter the old church.
Echo Weaver Audio Bugs and Hotfixes: Patch Fix Guide
Fix sound problems with this Echo Weaver audio bugs and hotfixes guide. Learn what patches 1.0.0.60 and 1.0.0.61 address and how to check your update.
Join the community
Official channels for news, updates and player help: